How to Convert iPhone Photos to JPG on Windows & Mac
Updated August 31, 2026
Copy photos from an iPhone to a computer and you'll meet the .heic extension, Apple's storage-saving photo format that Windows often can't preview and plenty of software rejects outright. The photos are fine; the format is just ahead of the software around it.
This guide walks the whole path: getting the photos off the phone, converting them to JPG with ConvertSave on Windows or Mac, and stopping the problem at the source if you'd rather your iPhone shot JPG in the first place.
Step 0: get the photos onto your computer
- •Windows: plug the iPhone in with a cable and copy from the DCIM folder, or use iCloud for Windows.
- •Mac: AirDrop is fastest; the Photos app and iCloud also work.
- •Either: any cloud drive (Drive, Dropbox) set to upload originals.
However they arrive, you'll have a folder of .heic files. That's what we convert.
How to convert iPhone photos to JPG
- 1
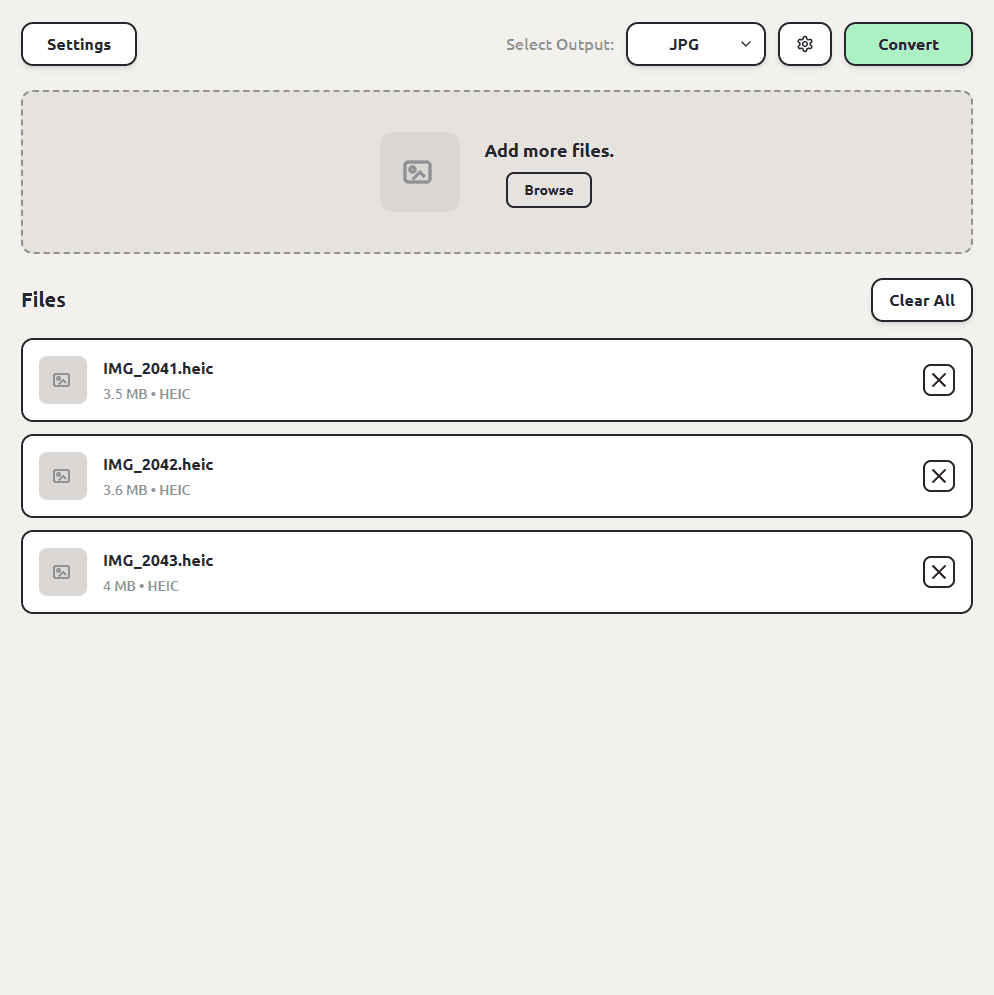
Drag your files into ConvertSave
Open ConvertSave and drag your iPhone HEIC photos into the window. You can drop one file or a whole selection at once. There is no upload step, because the files never leave your computer.
- 2
Choose JPG as the output format
Pick JPG from the format list. ConvertSave shows the formats that make sense for the files you dropped, so JPG is right there.
- 3
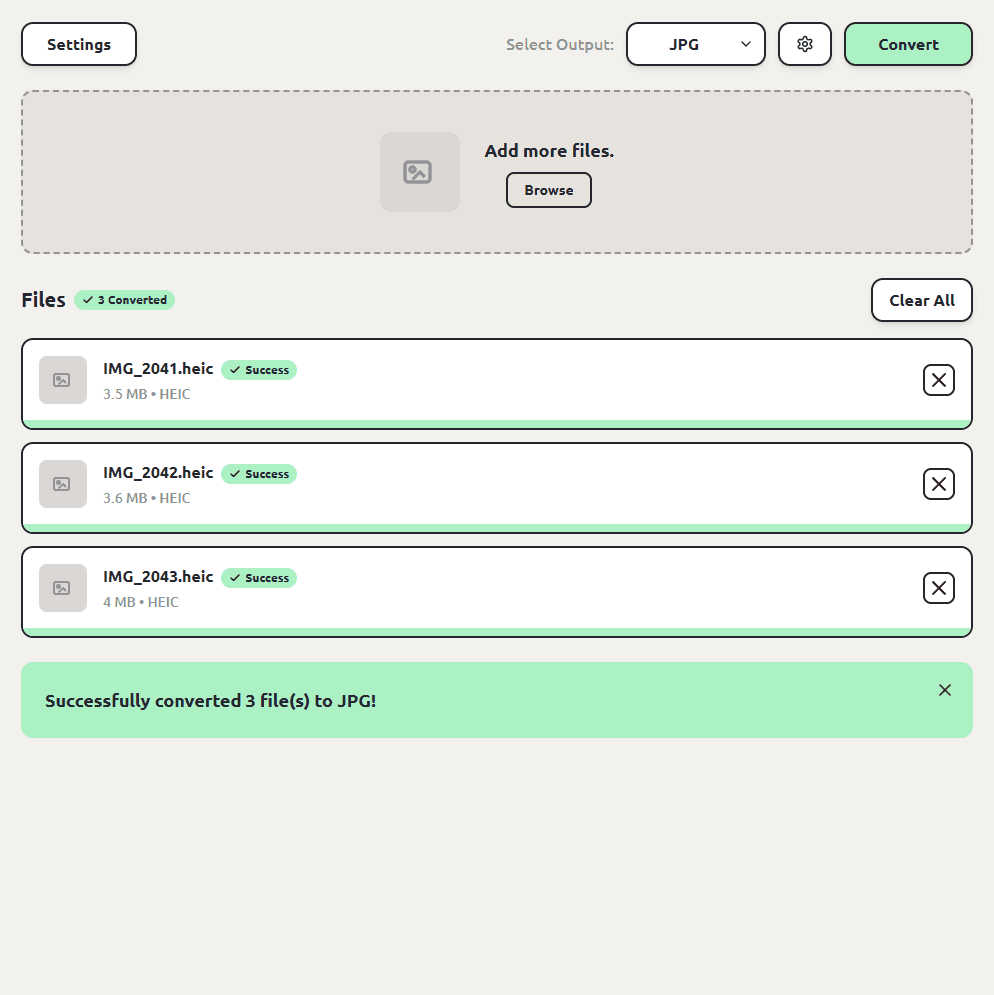
Click Convert
Hit the Convert button. Each JPG file is saved next to the original, so you don't have to hunt through folders to find your converted files. The originals are left untouched.
Converting iPhone photos on Windows
Windows is where iPhone photos cause the most grief, since even previewing HEIC can require a paid codec from the Microsoft Store. Skip all that: drag the files into ConvertSave, pick JPG, convert. The JPGs open in everything.
PNG, PDF, and other outputs
JPG is the everyday pick, but the same queue converts to PNG for lossless editing or straight to PDF, including combining several photos into one multipage PDF. The HEIC to PNG and HEIC to PDF guides cover those in detail.
Prefer your iPhone just shot JPG?
Settings, then Camera, then Formats, then Most Compatible makes the camera save JPG from then on, at the cost of roughly double the storage per photo. Many people keep HEIC on the phone for space and convert on the computer when needed; that's the workflow this page automates.
Is converting iPhone photos safe?
The risk with converting your iPhone photos isn't the conversion itself, it's where the conversion happens. Free converter websites work by uploading your file to someone else's server. You usually can't tell who runs the server, where it is, or how long your file sticks around after the conversion finishes. For personal videos and photos that's a real privacy trade, and it's the reason so many of those sites are covered in aggressive ads.
ConvertSave does the conversion on your own computer. Nothing is uploaded anywhere. You can turn off Wi-Fi entirely and it still works, which is also the easy way to verify the claim. Your original file is never modified, and the converted copy is written right next to it.
Frequently asked questions
Why are my iPhone photos HEIC instead of JPG?
Apple's default since iOS 11, because HEIC stores the same photo in about half the space. Great on the phone, awkward everywhere else.
Does converting to JPG lose quality?
Both formats are compressed and the conversion re-encodes at high quality; for sharing, printing, and everyday use the result is indistinguishable. The photo's metadata is kept.
Can I convert my whole camera roll at once?
Yes. Drag the entire folder's contents in and convert them as one batch. We've tested up to a thousand files.
Do my photos get uploaded anywhere?
No. ConvertSave converts on your computer and works offline. Your photos never leave your machine.
Is ConvertSave free?
There's a 7-day free trial with all features unlocked. After that it's $9/month, $60/year, or $129 once for a lifetime license that covers 3 personal devices on Mac and Windows.